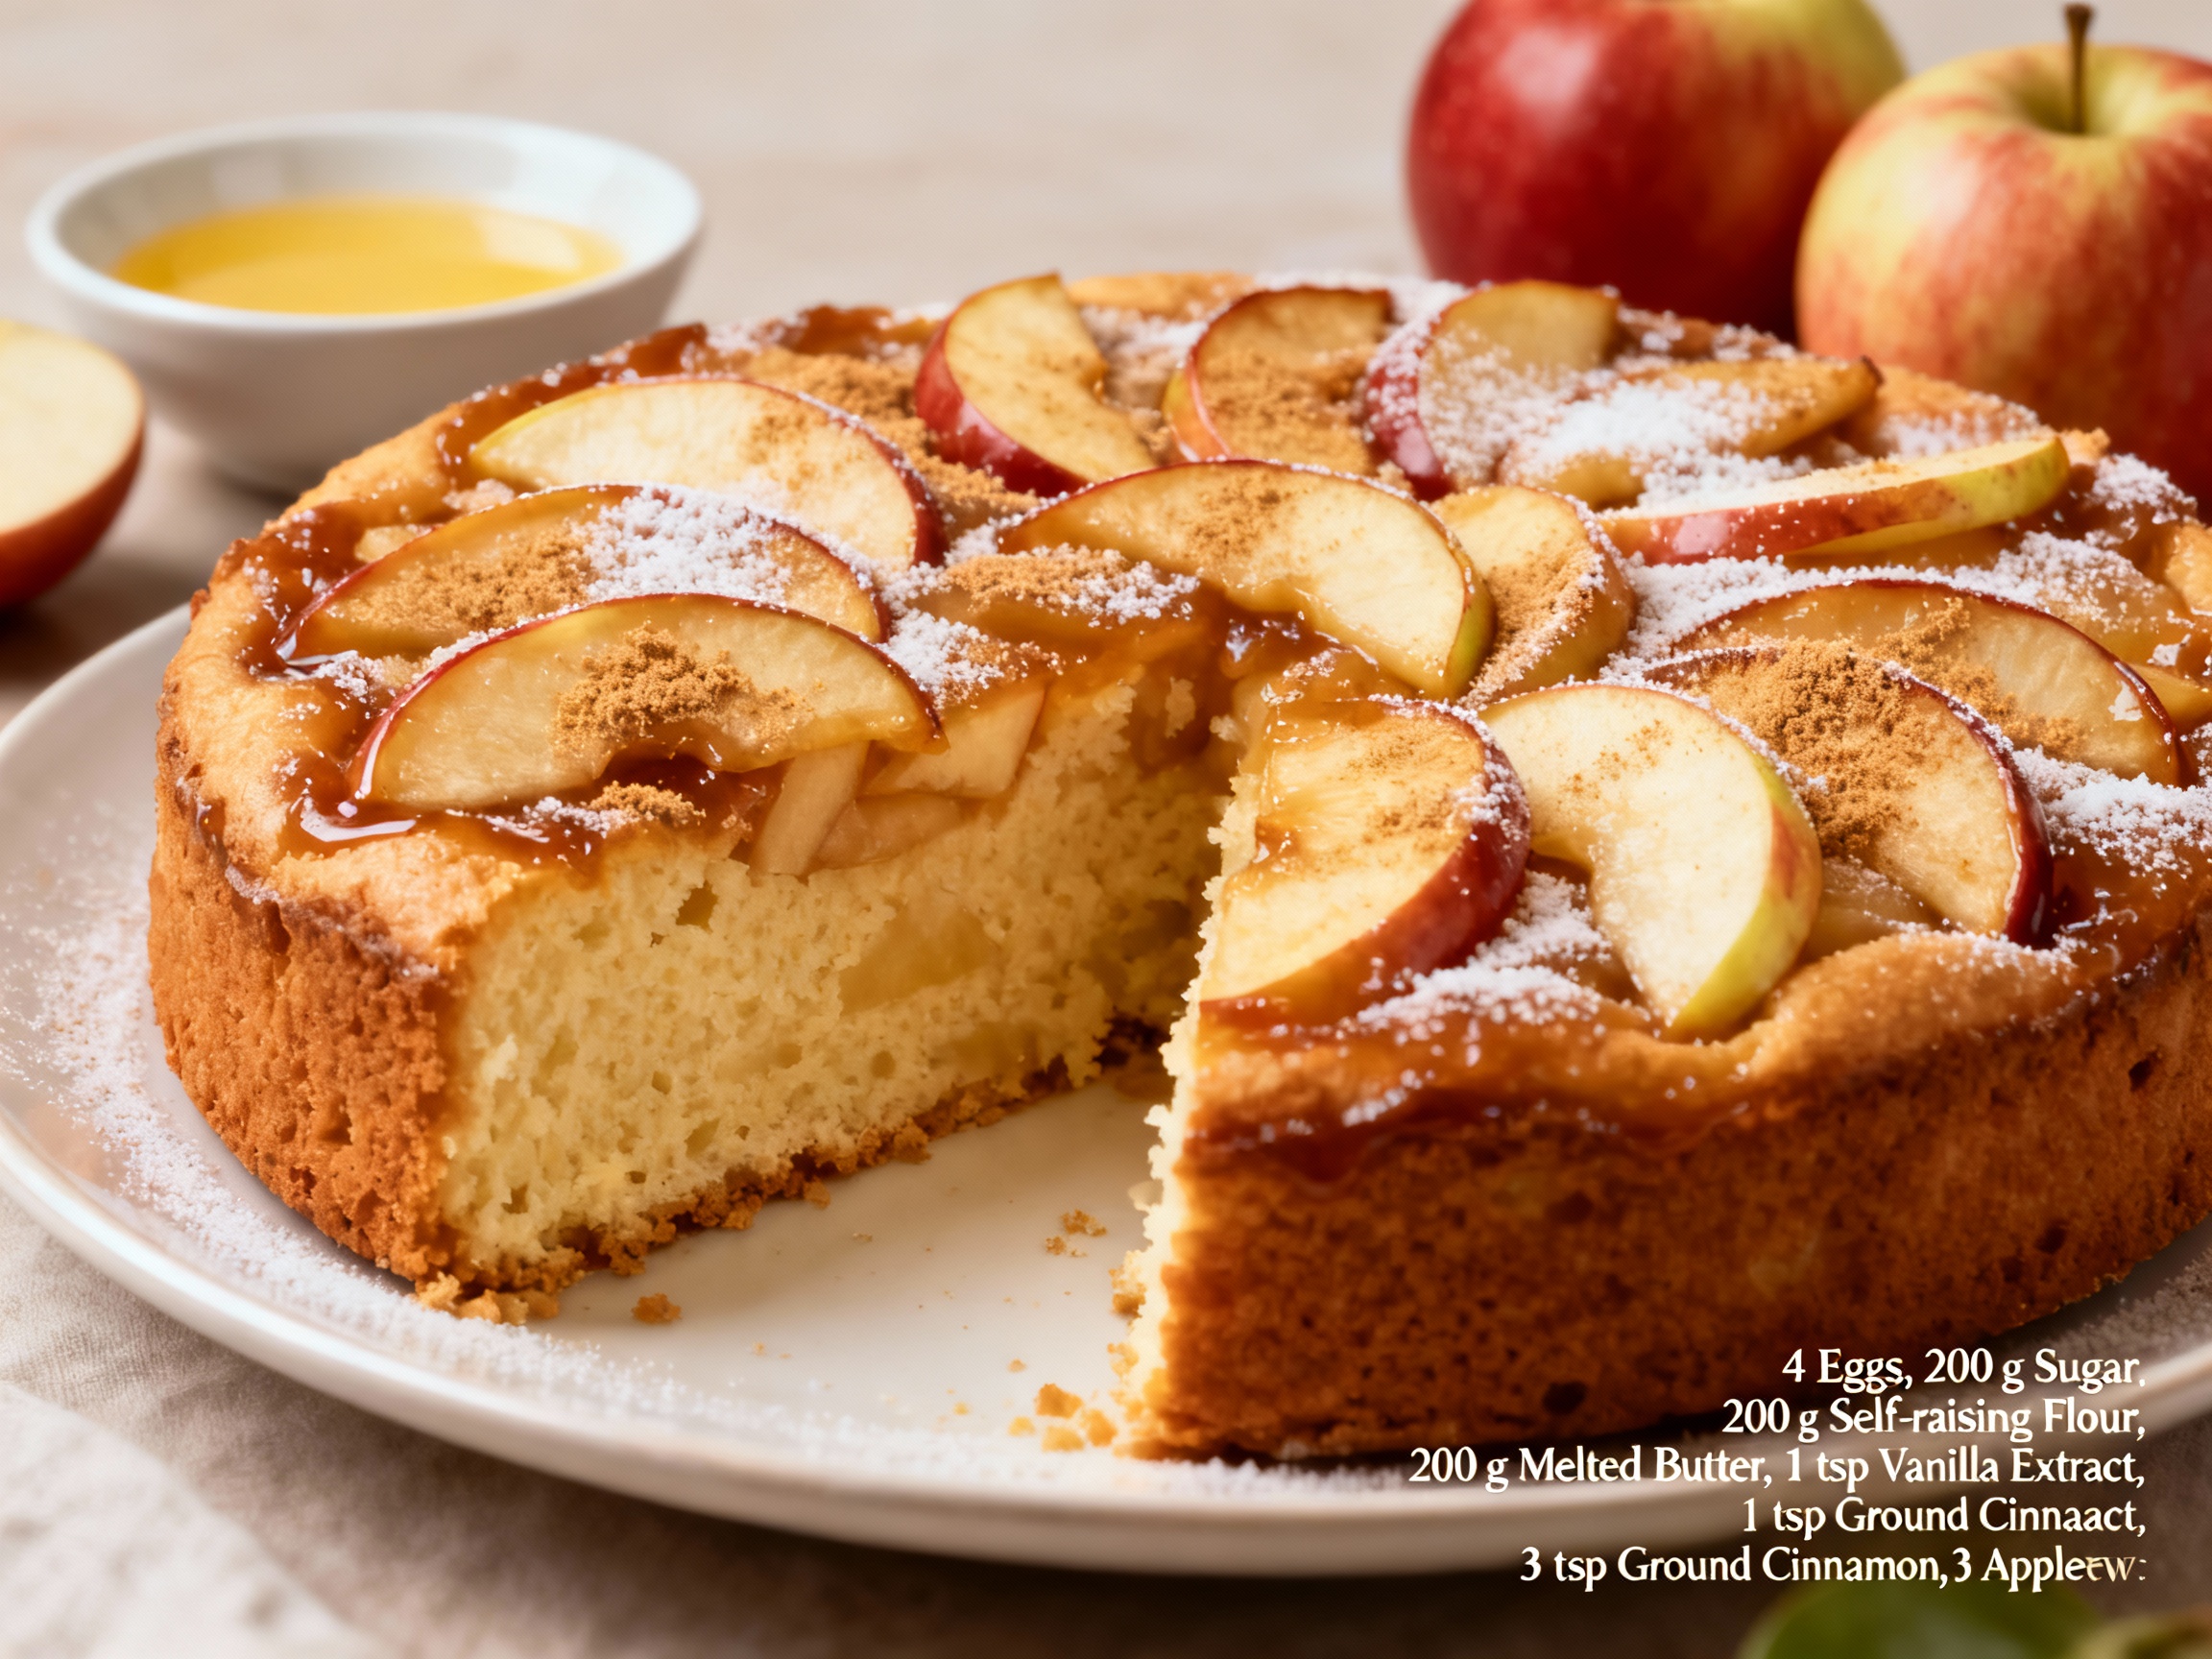
Instructions
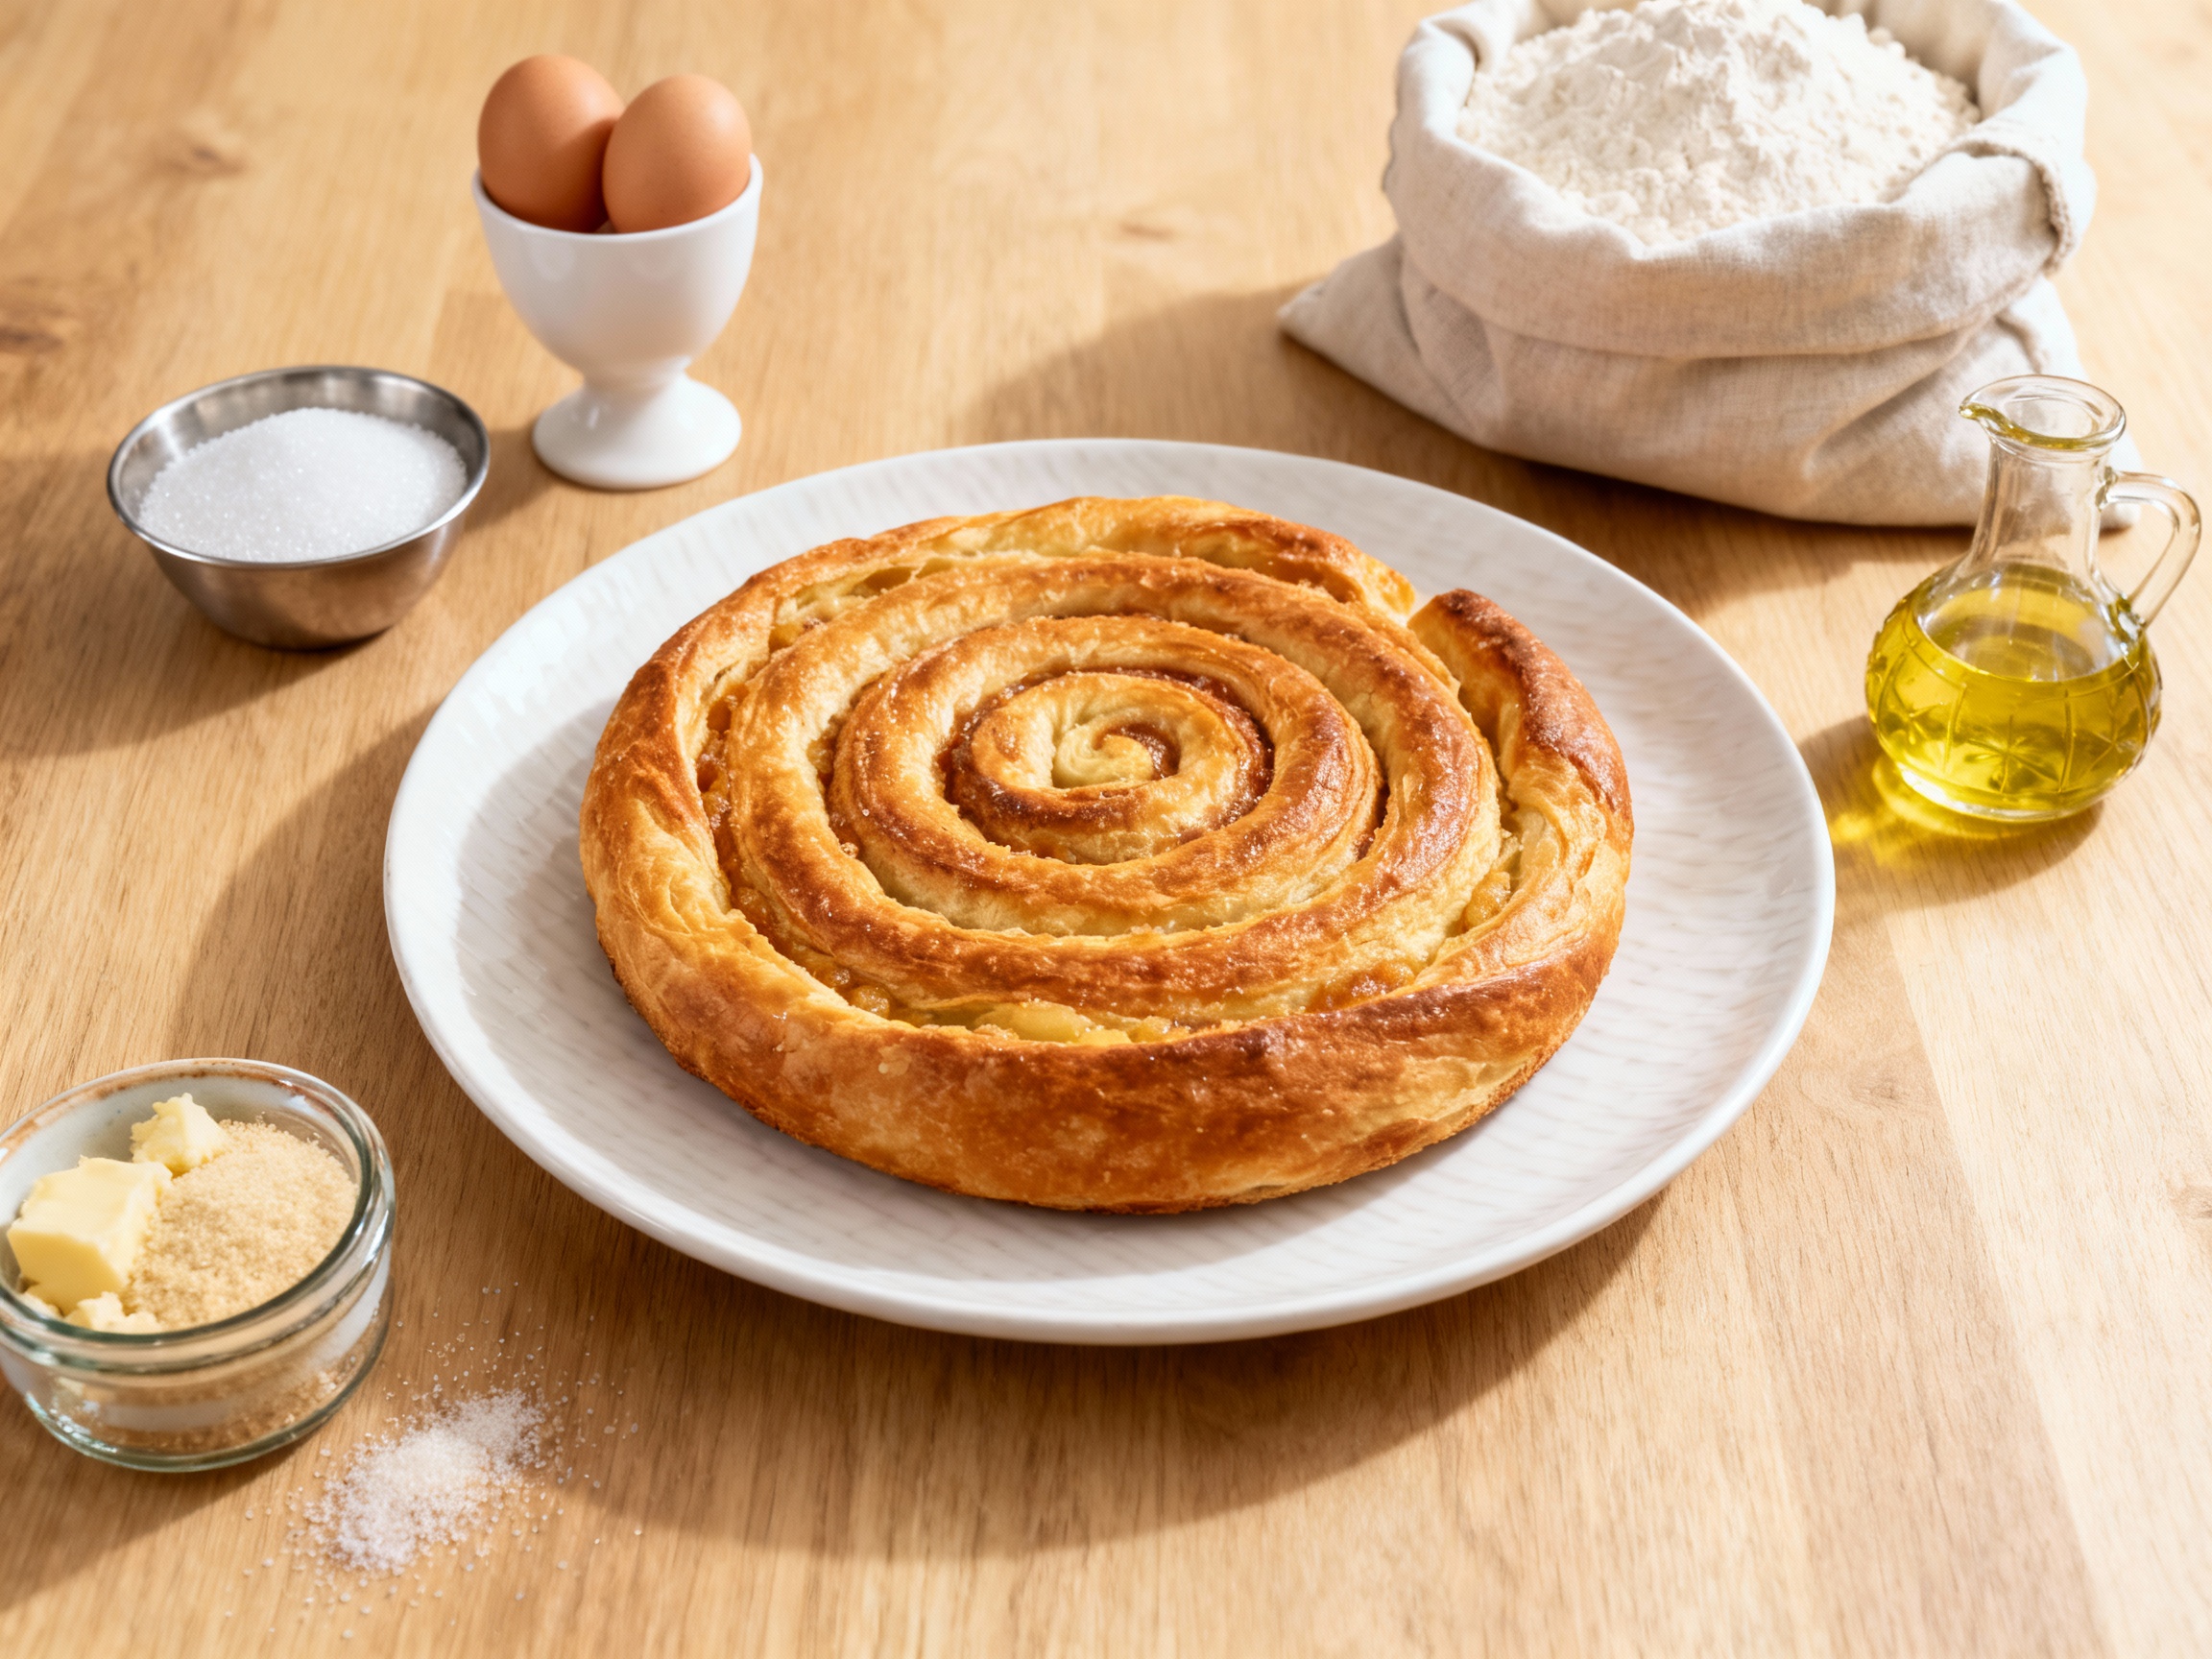
Step 1: Begin by gently pouring 230ml of lukewarm water into a mixing bowl. Sprinkle in the yeast and allow it to stand for 3 minutes until it activates and becomes frothy. Next, add the caster sugar, eggs, strong white bread flour, and 1 teaspoon of sea salt flakes to the yeast mixture. Combine these ingredients thoroughly to form a dough. Knead the dough for about 10 minutes using a stand mixer equipped with a dough hook or, if kneading by hand, extend this to 15 minutes. The goal is to achieve an elastic dough that is thin enough to almost see through when stretched. Cover the dough and let it rest for 30 minutes, allowing the gluten to relax. Step 2: After resting, divide the dough into four equal portions. Line a baking tray with baking parchment and place the dough pieces on it, then cover and let them rest for another 30 minutes to rise slightly. Meanwhile, oil your work surface and rolling pin lightly with vegetable oil to prevent sticking. Working with one dough piece at a time, gently flatten it using your palm, then roll out into a thin rectangular shape roughly 30 by 50 centimeters. Allow it to rest for 2 minutes, then evenly spread a quarter of the lard over the surface. For a unique twist, you can mix 50g of lard with sobrasada de Mallorca and spread this flavorful mixture instead. After spreading the fat, carefully stretch the dough from the corners, pulling it as far as possible without tearing, expanding the rectangle to about 50 by 70 centimeters. Repeat the stretching around the dough at intervals of 10 centimeters for uniform thinness. Step 3: Use a sharp knife to cut strips from each of the shorter sides of the rectangle. Lay these strips side by side along one of the longer edges of the dough; this formation is referred to as the heart of the ensaimada, serving as the core of the iconic spiral shape. Starting from the heart, roll the dough tightly into a long rope or pastry snake. Repeat this rolling process with the remaining dough portions. Step 4: Take the first rolled dough and stretch it gently until it extends over a meter in length. Coil the long pastry into a loose spiral, ensuring there is about a 1-centimeter gap between each turn of the spiral to permit expansion during baking. Slightly flatten the spiral and carefully transfer it onto a baking sheet lined with baking parchment. Repeat with the other rolled doughs. Cover the spirals and place them in a warm spot to rise patiently for at least 12 hours, though 24 hours will develop an even loftier texture and more nuanced flavor. Step 5: Preheat your oven to 200°C (180°C fan) or Gas Mark 6. Place the ensaimadas on the top third of the oven rack and immediately reduce the temperature to 180°C (160°C fan) or Gas Mark 4. Bake these pastries for about 18 minutes until they achieve a rich, dark golden-brown color. Remove from the oven and allow them to cool on a wire rack. For serving, you can slice open the cooled ensaimada and spread whipped cream inside for a luscious, airy touch. Finish by dusting generously with icing sugar if desired, then cut into portions to serve and enjoy. Tip: Make sure to oil your hands lightly when handling the dough to keep it from sticking. The extended rising times are crucial for developing the light texture characteristic of authentic ensaimada, so avoid rushing these stages.